Generating social media visuals with Hermes and Figma
How I set up an AI agent with the Figma MCP and a component library to generate editable, on-brand social media visuals.

My Hermes agent supports me with idea generation for blog posts, monitors the success of my content and suggests next steps. So I wanted to find out whether it can also generate matching social media visuals for me.
 Hermes - My Personal AssistantRunning Hermes Agent on a VPS gives me one assistant with my tools, files, context, recurring workflows, and review points across Telegram and email.sebastianstoehr.de
Generating bitmaps vs. Figma MCP
Generating plain visuals works fine — even text rendering is no longer a big deal with the latest models. With proper skills you can achieve a common look and feel across your visuals. Yet I wasn’t fully happy with the results. Often all I wanted was one small adjustment — a shorter headline, a different color — and that is exactly what a bitmap doesn’t allow. Re-generating the full image takes time, costs money and — often — changes more than I would have liked.
For my professional work I wanted to learn more about the Figma MCP. So I started a small side project.
Figma is a tool to design and prototype user interfaces. It allows you to create and collaborate on designs, and it integrates with your AI agents through the Figma MCP server.
I wanted to be able to generate editable visuals in Figma according to my personal styleguide. My priority was learning and using AI, so I tried to use AI as much as possible. The setup consists of three building blocks:
- Ideation: First I needed to define which kinds of visuals and formats I want to generate. AI helped me develop ideas, explore common formats and specify the structure of each format.
- Figma Library: The Figma library contains the predefined components. It was generated based on the format specifications and my existing design using the Figma MCP — no manual work.
- Skill: The skill explains the components and instructs the agent on how to use them. It was also fully built with AI. With the skill in place, the agent doesn’t need to explore the library from scratch every single time.
Ideation: Defining the formats
Help me define typical visual formats for use in Social Media, e.g. as a post carousel.

Topic: professional posts about Engineering Leadership and AI transformation
This prompt is a simple starting point to explore different ideas.
Based on the ideas, decide on the formats you want to use and let the agent specify their structure.
Figma Library: Generating the blueprint
After you have connected Figma MCP you can start generating your library:
Generate the specified formats as Figma component library.
Each format should be a single component using the provided styleguide.

Each component should exist in 3 color variations: colorful, light and dark
You can find the generated result here: Figma Library (Example)
Skill: The instruction manual
Without a skill the AI needs to explore the Figma file every time. This costs time and tokens. To streamline the generation of visuals I asked my agent to generate a skill with the relevant information.
Generate a skill, which allows generating the visuals. The skill should explain the available
components and when to use them.

For every component there should be a separate file explaining the sub structure
and how to fill the component properly.
You can find the generated skill on GitHub
Generating visuals in practice
With the Figma Library and the Skill in place you can now easily generate visuals, adapt them as needed and export them — through the Figma UI or by asking your AI agent.
Generate an example carousel for the attached blog post about generating
an AI visual pipeline using Figma MCP.
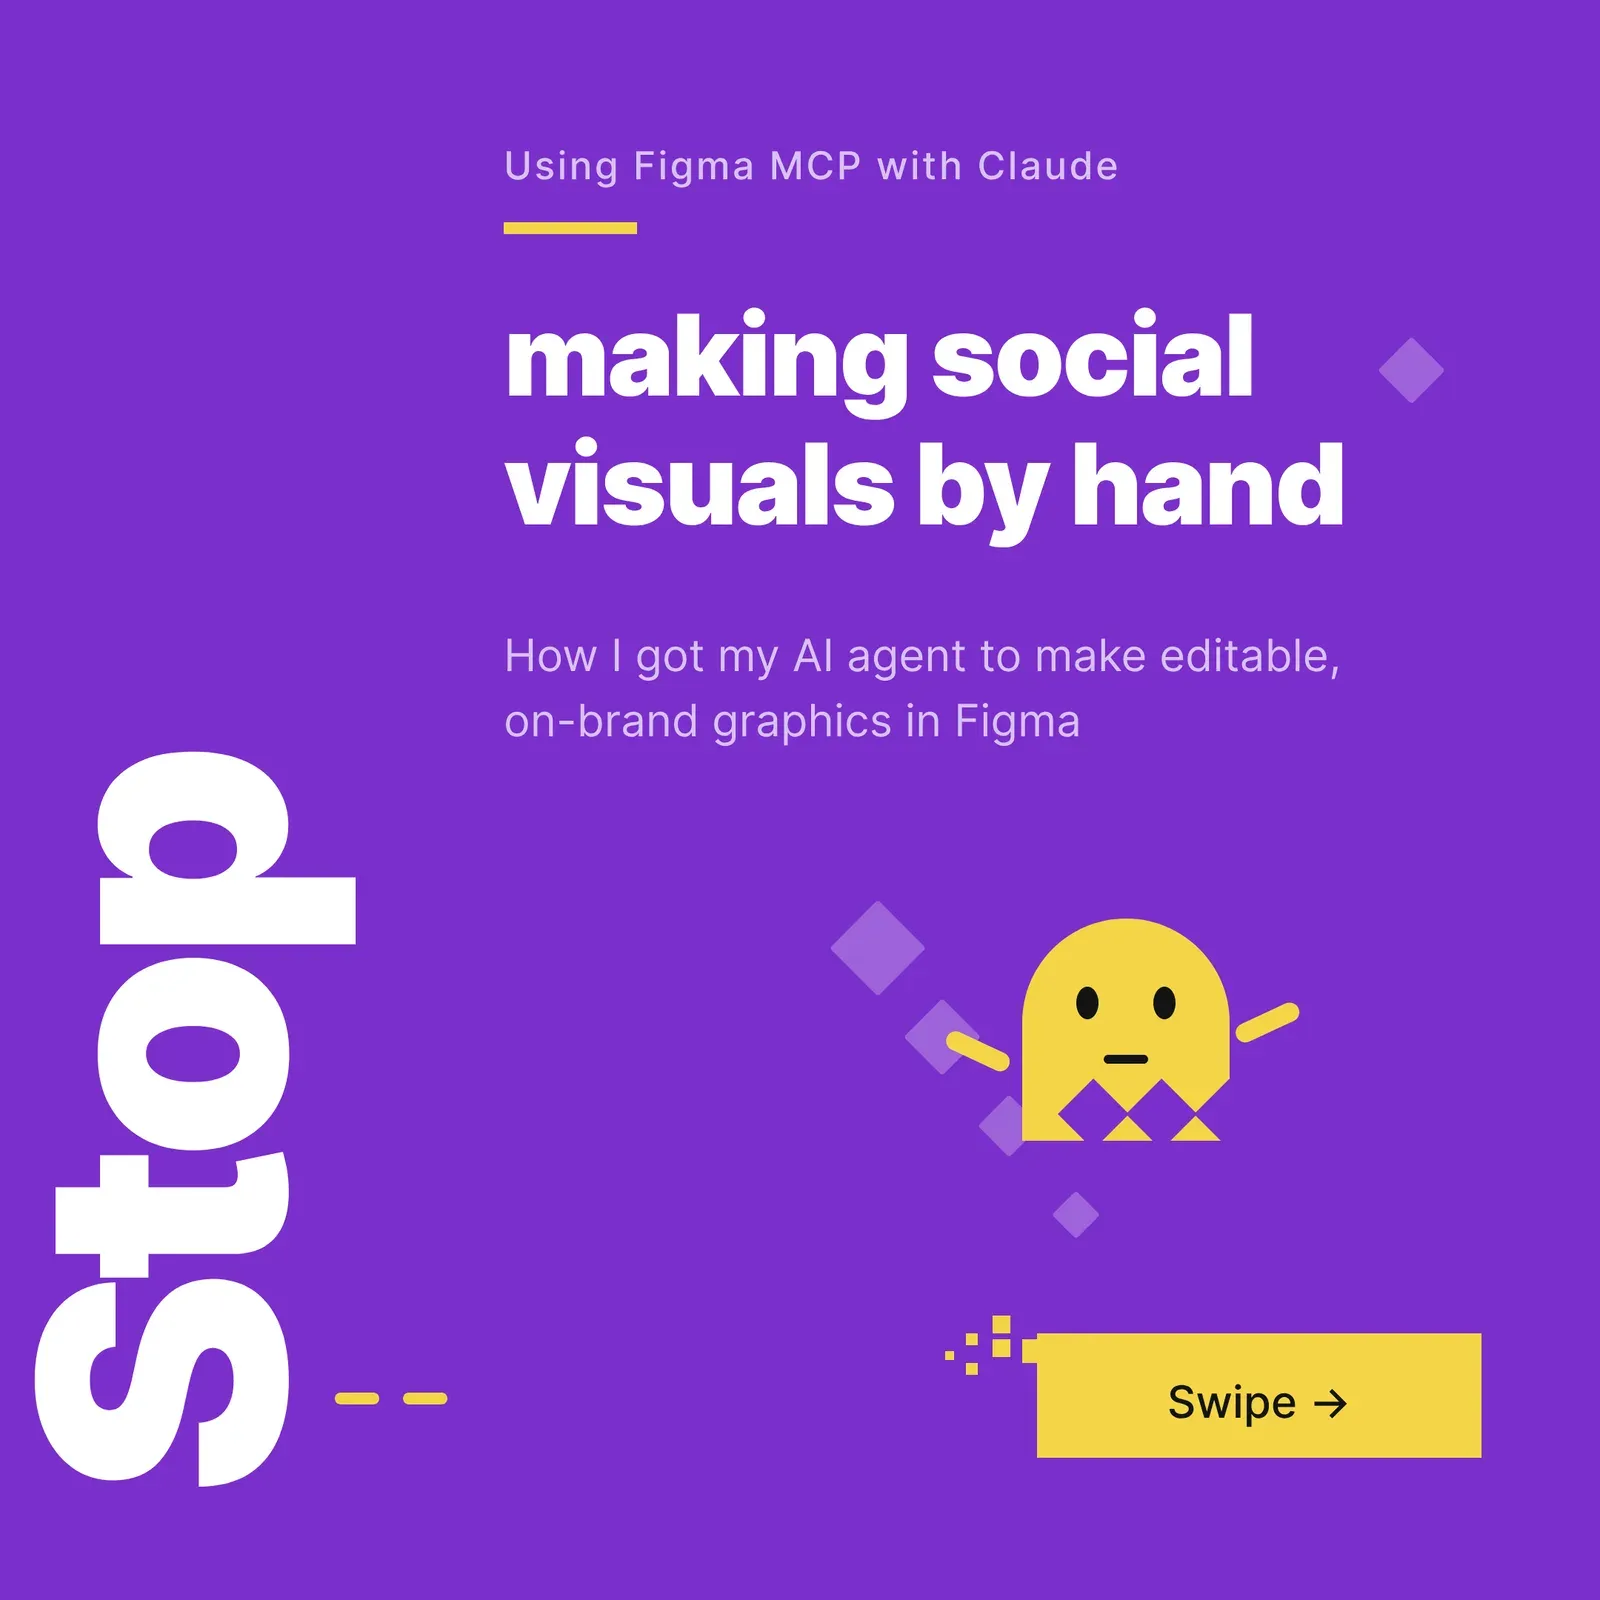
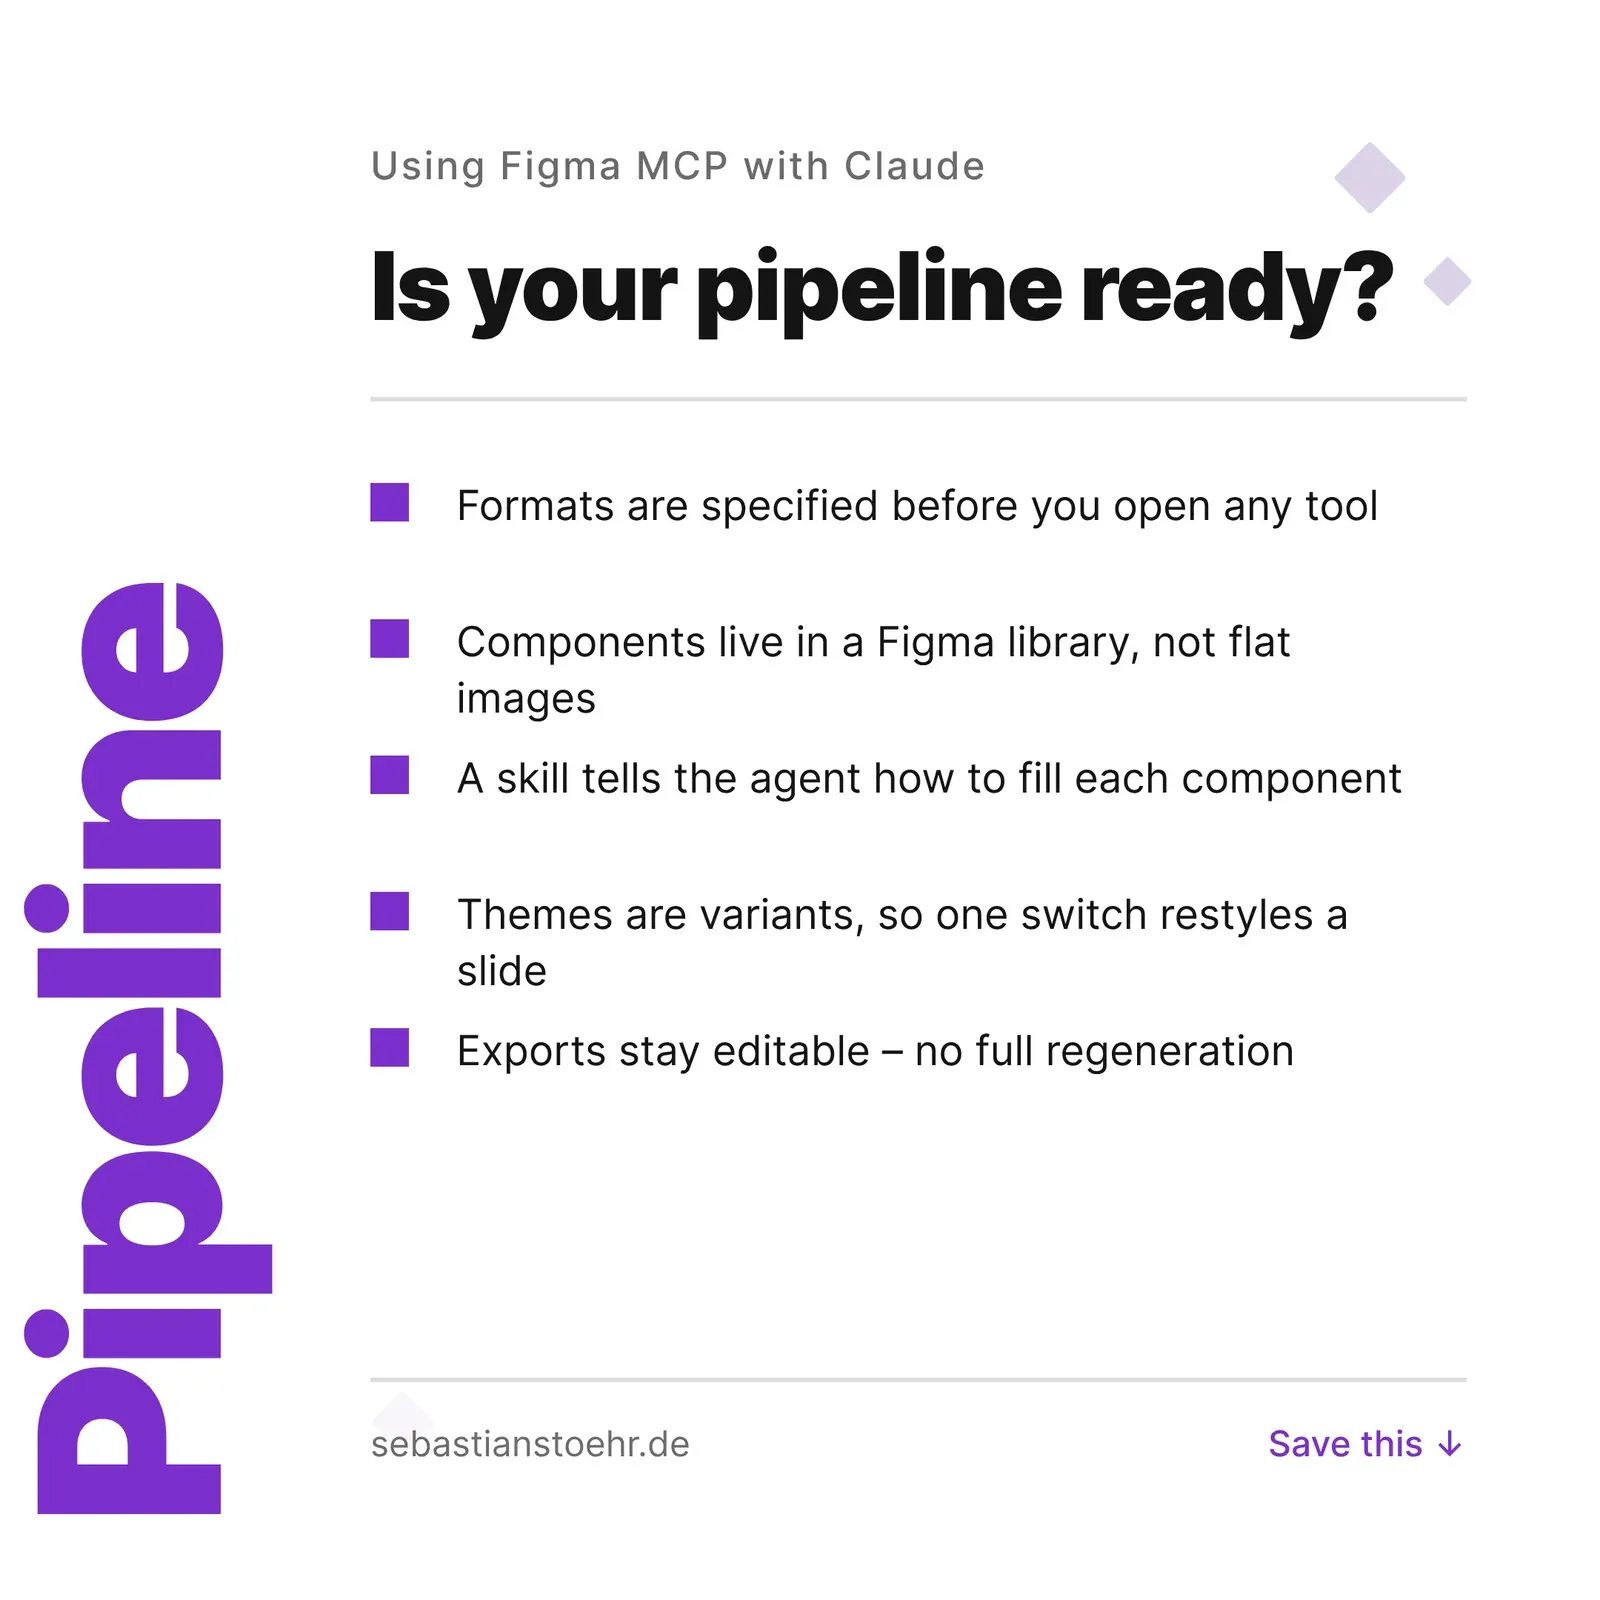
The carousel embedded in this article was generated exactly this way.
The interesting part comes after the first draft. If a headline doesn’t sit right or a slide should be light instead of dark, I don’t re-generate anything. I open the file in Figma and change it directly — or I ask the agent for the one small edit:
On slide 3, shorten the headline and switch the slide to the light variant.
This is exactly the step that broke down with plain image generation. A small change stays a small change — everything else remains untouched.
What this small setup taught me
The examples here are heavily simplified, but the approach scales. My real setup has grown into a full brand library — more than a dozen component sets, each with light and dark variants — still driven by a single skill. The workflow stayed the same.
The pattern behind it generalizes well: instead of letting the agent re-generate finished outputs from scratch, give it a reusable asset and a skill that explains how to use it. The same flow works for user interfaces, prototypes or diagrams.
The result: Generated carousel for this article

The post in a nutshell
What is the Figma MCP server used for?
The Figma MCP server connects an AI agent to Figma, so the agent can work with designs directly instead of producing finished images. That makes it possible to generate a component library and later create and edit visuals from those components.
Why generate social media visuals in Figma instead of as AI images?
A generated bitmap cannot be adjusted, so a shorter headline or a different colour means re-generating the whole image, which takes time, costs money and often changes more than intended. Figma components keep the visual editable, so a small change stays a small change.
What do you need to generate on-brand visuals with an AI agent?
Three building blocks: a specification of the visual formats you want, a Figma component library generated from that specification and your styleguide, and a skill that explains the components and when to use them.
Why write a skill instead of letting the agent read the Figma file each time?
Without a skill the agent has to explore the Figma file on every run, which costs time and tokens. A skill that documents each component and its sub-structure lets the agent go straight to filling the right component.
Is the free Figma plan enough to use the Figma MCP?
The free Figma account includes three MCP calls per month. That is enough for a first test, but not for regular use.